Settingan Kamera untuk Foto Milkyway (Bima Sakti)... »
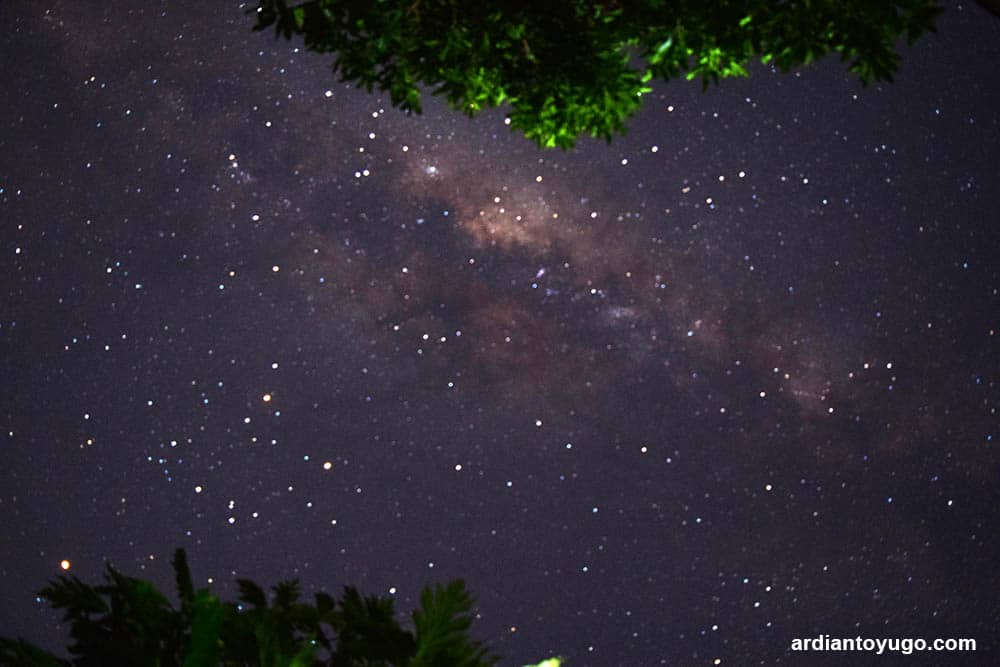
Settingan 1100d : Speed: 30″ , Apeture: f3.5, Iso: 1600 / 3200 , wajib tripod.. ( selebihnya bisa disesuaikan kondisi medan hehe ). Di Pacitan kalian bisa menemukan lokasi-lokasi yg cocok banget digunain untuk foto milky way. untuk pemilihan waktunya adalah sekitarApril-September arah selatan dimana kita bisa dengan mudah melihat bintang.
MLDSPOT 5 Spot Milky Way di Indonesia
Watch More Milky Way Photography Videos Here: https://www.youtube.com/playlist?list=PLfZ5KCGgZlCP_ihbECqJajnzljLrmJ4RiWhat camera settings do you use to take.
Deretan Foto Milky Way yang Bikin Terkagumkagum
How to Photograph the Milky Way. Milky Way photographed on a brisk 18°F night in Yellowstone National Park. Z 6, NIKKOR Z 14-30mm f/4 S, shot at 14mm focal length, 25 seconds, f/4, ISO 10000, manual exposure, 3D Color Matrix metering. Milky Way in the Oregon night sky.

Cara Memotret Milky Way dengan Hasil yang Sempurna « Az Creative
We usually start with ISO 3200 for our Milky Way shots, and can go up to ISO 6400 without issues with our Canon Ra. We suggest you start at ISO 1600 or 3200, and zoom in on your test shots to see how much noise you have. Feel free to increase the ISO a bit if your images look very clean.
Tips & Panduan Memotret Milky Way
Learn how to photograph the Milky Way in this quick overview of gear, planning, camera settings, and focusing for night sky photography. Recommended Resource.
Deretan Foto Milky Way yang Bikin Terkagumkagum
Here are the settings I recommend for your Milky Way shots (assuming high ISOs rather than using a tracking head or image stacking ): Color noise reduction: Roughly +10 to +20. Color detail: Roughly +60 to +80. Color contrast: +100 every time. This is the result:

5 Trik Memotret Keindahan Milky Way GenPI Jogja
Milky way alias kumpulan bintang adalah salah satu objek foto favorit yang kerap menarik perhatian, sehingga gak jarang banyak orang berburu ingin mendapatkan foto milky way terbaik. Namun sayang, memotret milky way itu bisa dibilang susah terlebih jika kamu gak menguasai triknya. Nah, biar kamu makin jago saat ingin memotret milky way di langit malam maka gak ada salahnya simak langkah dan.

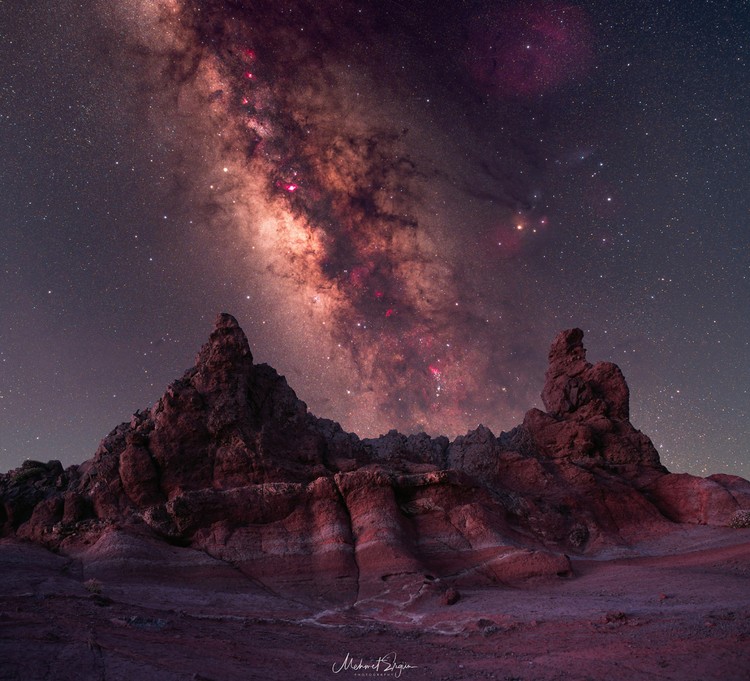
The 25 most inspiring Milky Way pictures Capture the Atlas
The wider the focal length and aperture the better for Milky Way compositions. A wide aperture of at least f/4 is best, preferably f/2.8 unless your camera is capable of extremely high ISOs. Not every lens is sharp at f/2.8, and many f/1.4 and f/1.8 primes are not sharp enough until stopped down to at least f/2.
Deretan Foto Milky Way yang Bikin Terkagumkagum
Use an aperture of f/2.8 or the widest in your lens. Set an ISO between 3200 and 6400. Adjust the shutter speed between 10 and 25 seconds. Set your white balance to 4000k. Focus manually on a star or distant light. Adjust the general camera settings for the Milky Way. Use a shutter delay of at least 2 seconds.
Images of the Milky Way by Top Photographers
Basic settings for shooting the Milky Way. Your exact settings will vary night by night, but you need to always use the widest/fastest (lowest f/ number) aperture your lens will allow. If this is.

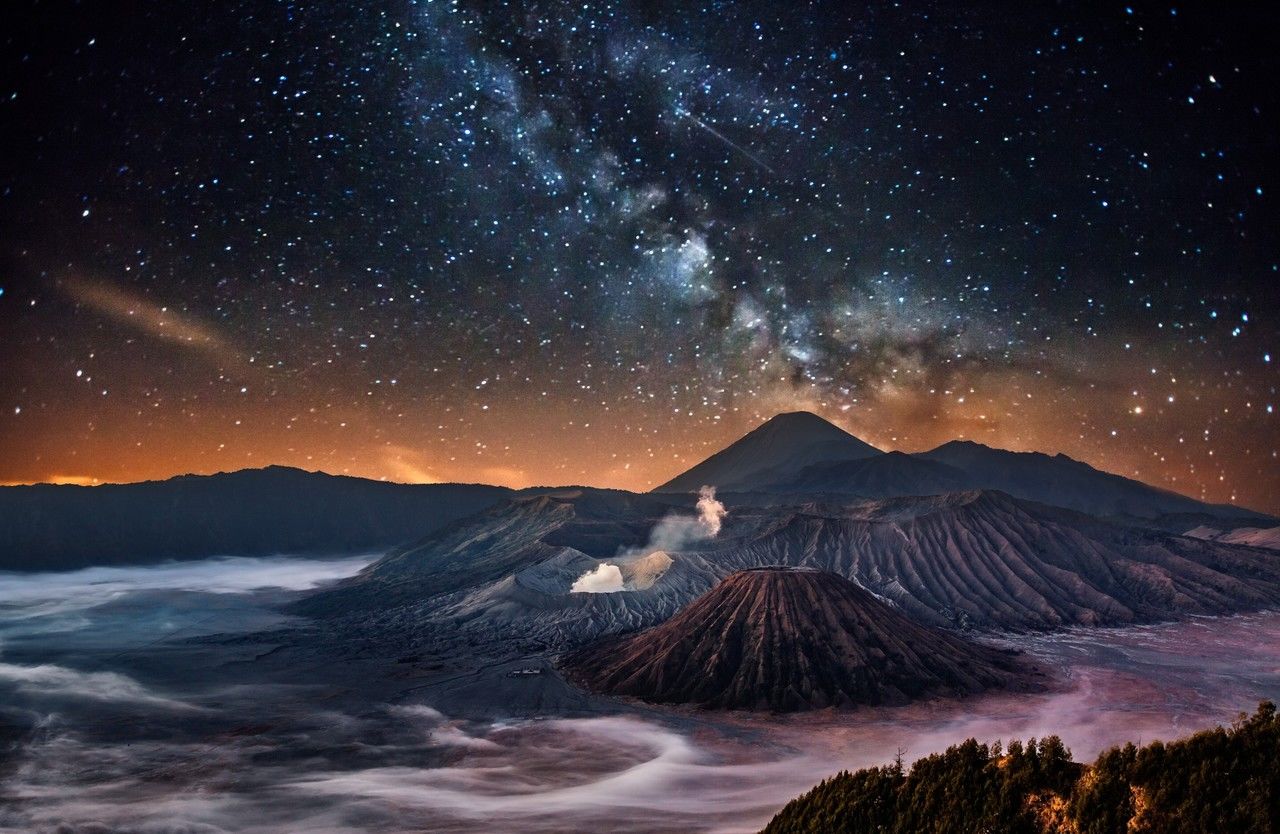
4 Cara Mudah Memotret Milky Way Bromo Dengan Kamera Smartphone Surabaya Tour and Rent Car
The method is quite simple. Take one photo shortly after sunset using a small aperture like f/11 to get substantial depth of field. Then, keep your tripod in the same spot until the Milky Way rises. Take a second photo at your usual astrophotography settings - say, f/1.8 and focused on the stars.
Deretan Foto Milky Way yang Bikin Terkagumkagum
3. Tripod. Photo by Joshua Case on Unsplash. Tripods are important for long exposure. Shooting the Milky Way means you will be holding your camera completely still for anywhere between 15 and 30 seconds to take a picture. Unless you have the most stable grip in the entire world, you are going to need a tripod.

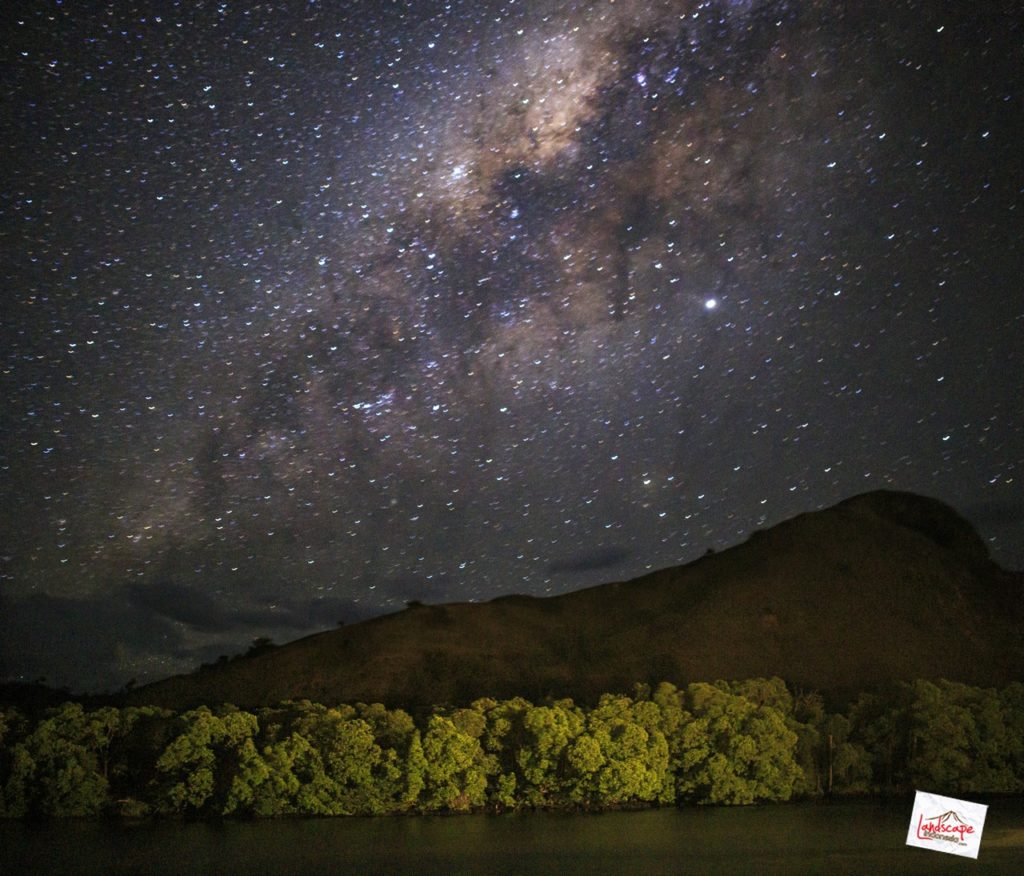
Tips memotret Milky way untuk pemula
Center of Milky Way with Canon 50mm f/1.4 on a Canon 6D. 6 seconds at f/2 and ISO 6400. So be prepared that with lenses longer than 35mm, you will probably have to take panoramas. Milky Way panos can be technically better, but take a lot of work both on-site and on computer. Also, panoramas can NOT be used in timelapse videos and making.

Tips Memotret Milky Way dengan Kamera Pro dan HP Nyikreuh
After capturing a beautiful Milky Way image, it will require editing to bring out the best details. Using Select Sky in Lightroom, Zefi creates a mask of the sky. Once selected, he brightens the.

Cara Memotret Milky Way Menggunakan Lensa Kit dengan Benar Sewa Kamera Jogja DIYKamera
With Milky Way processing, this is 100% acceptable. The rules change, but the principles remain the same. Let's have a look at the ten settings you must use to properly edit Milky Way photos! 1. Edit Milky Way Photos Using The Graduated Filter To Correct Colors. When processing a photo in Adobe Lightroom, it's always best to start at the.
Images of the Milky Way by Top Photographers
1. From Milan to Lake Como by Train. Travelling from Milan to Lake Como by train is very easy and straightforward. In many ways, this is the best way to get from Italy's Fashion Capital to Italy's most famous lake. Especially, if you are going to Lake Como just for the day during the high season.