
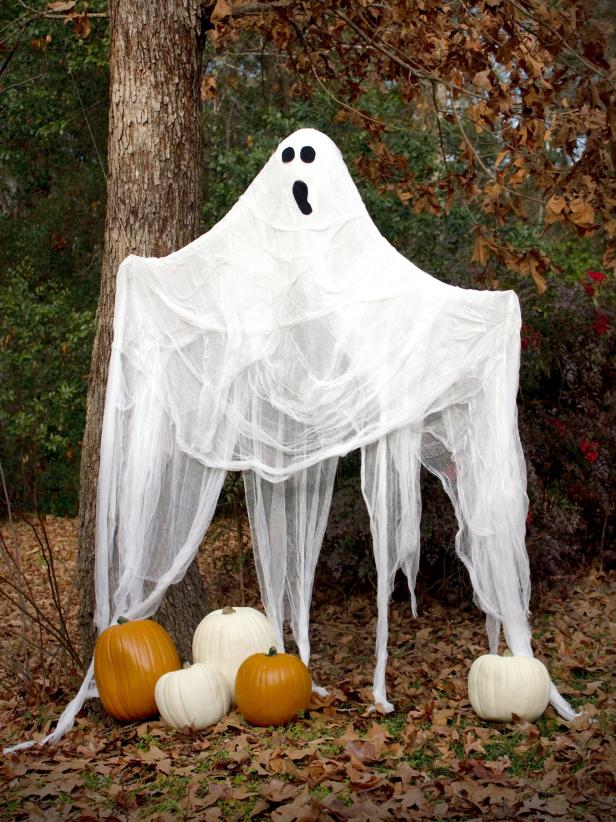
Halloween ghost, large ghost, ghost decoration, hanging ghost, scary
September 15, 2023 Dollar Tree DIY Ghost Decor (Note: This post may contain affiliate links. I make a small commission on any purchase you make, with no extra cost to you)! Welcome back for another Halloween craft! I created an affordable and easy way to make the trending Halloween Ghost using Dollar Tree supplies!

Easy Lighted Hanging Ghosts (A Dollar Tree DIY) Halloween ghost
Allow To dry. Now, let's work on our ghosty. Glue or stitch the wire onto the hands of your ghost. Attach a wire or ribbon loop at the top of your ghost ornament with the felt glue. Using the Beacon Felt Glue, attach the front of the ghost to the back. Lastly, cut a piece of scrapbook paper or cardstock in the shape of the eyes and glue in place.

Improvements HSN Halloween ghost decorations, Homemade halloween
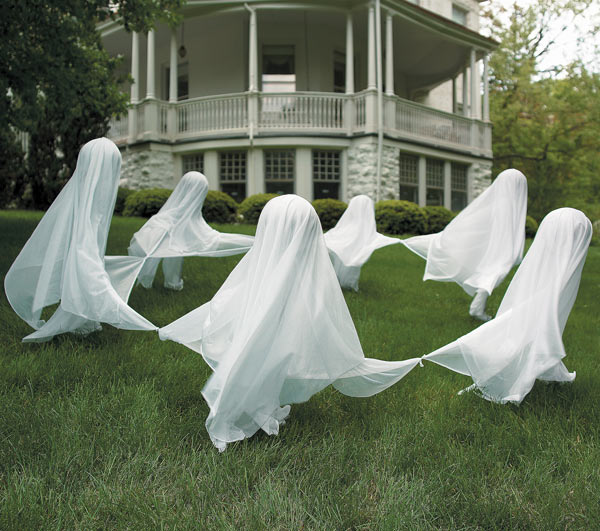
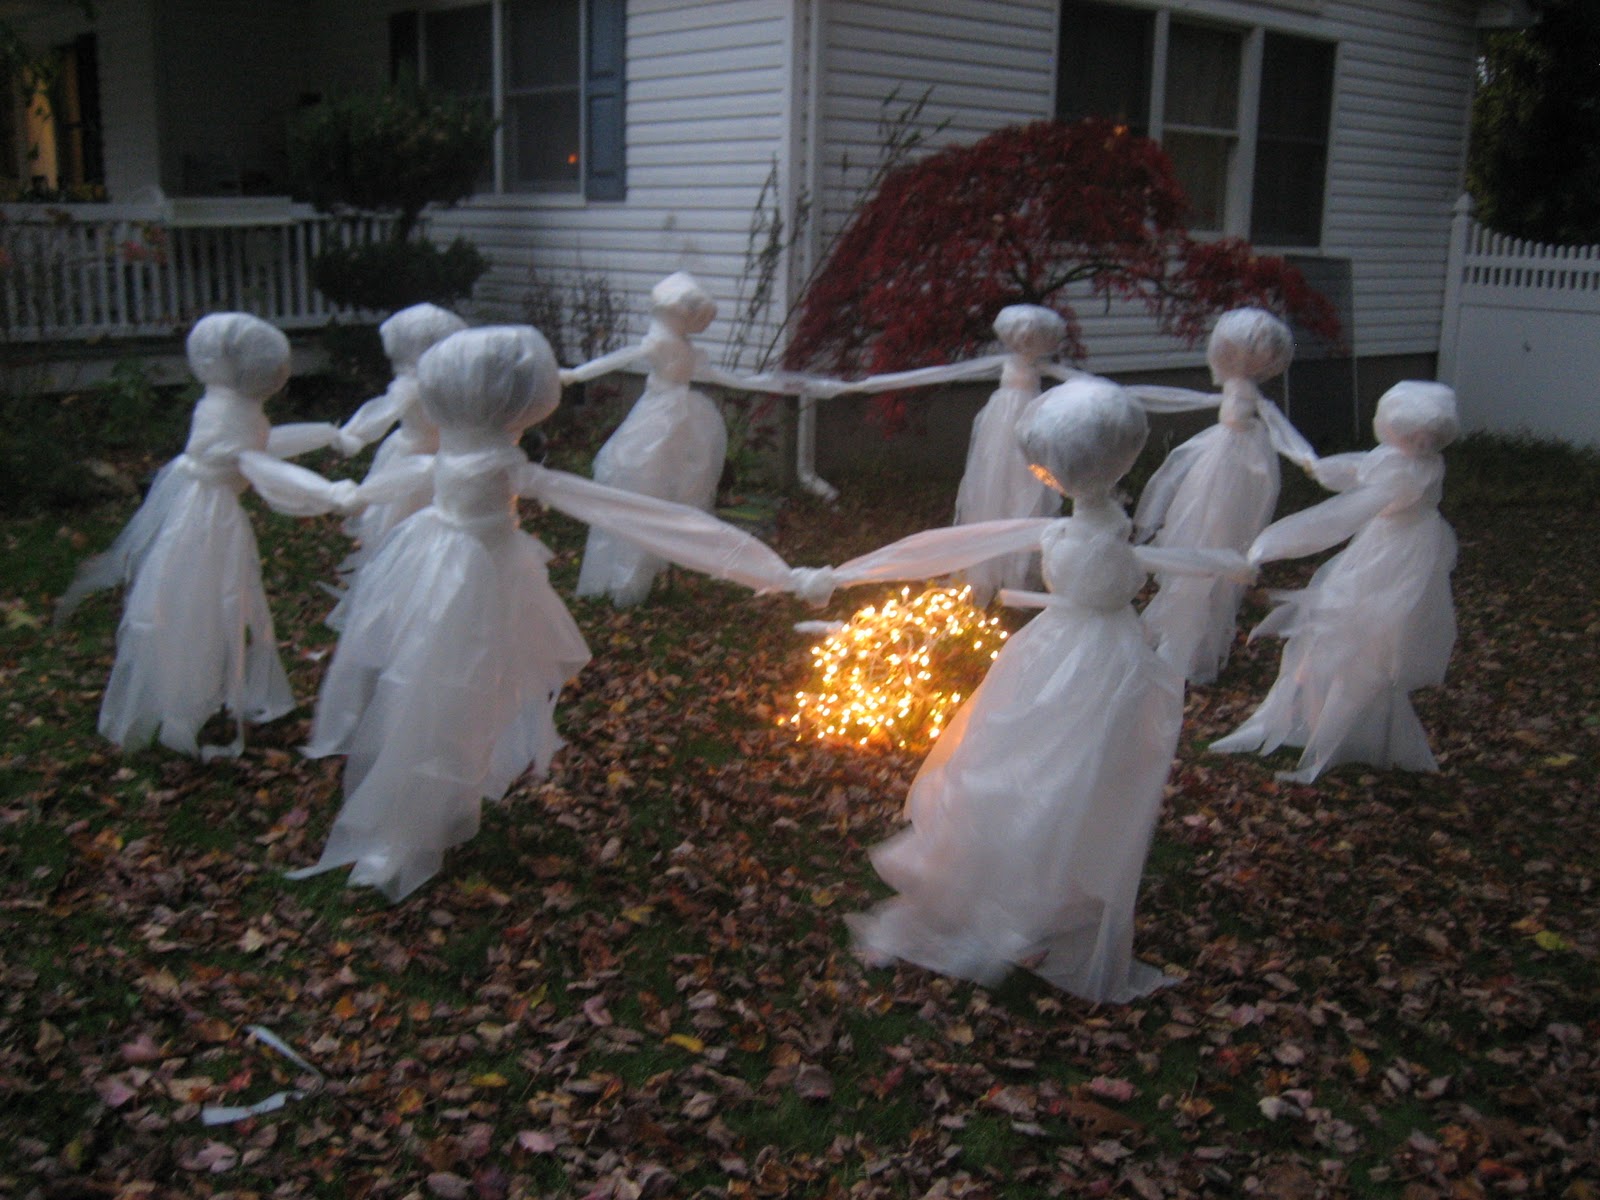
For the project you'll need large black or white plastic table covers, dry cleaning wire hangers, balloons, rope, scissors, and glow sticks. You need to rip plastic table covers to place them on wire hangers to imitate ghost's "bodies". Balloons will imitate heads. In case you want your ghosts looks really spooky, put glow sticks inside.

HOW TO Make Halloween Flying Ghosts from an Upcycled Sheet Inhabitots
Home Design Make and Celebrate Handmade Outdoor Halloween Decoration: Hanging Ghosts Haunt your front yard with these easy-to-craft floating fabric ghosts. Hang them from a tree or light post to give Halloween guests a fright. By: Kim Stoegbauer Related To: Design 101 Holidays How To Materials Needed: white paper lantern (without lighting kit)

Don't to share your kid's latest wisdom with Campbell's Wisest
Halloween Christmas Tree Share Watch on I am so excited to show you my decorated Halloween Christmas Tree in the #countrypeonystudio with my DIY wooden pink ghosts. Who says Halloween has to be scary? I love how cute and whimsical my wooden ghosts and pink Halloween Christmas tree turned out!

Hanging tree ghosts. So easy. I used playground balls and spray painted
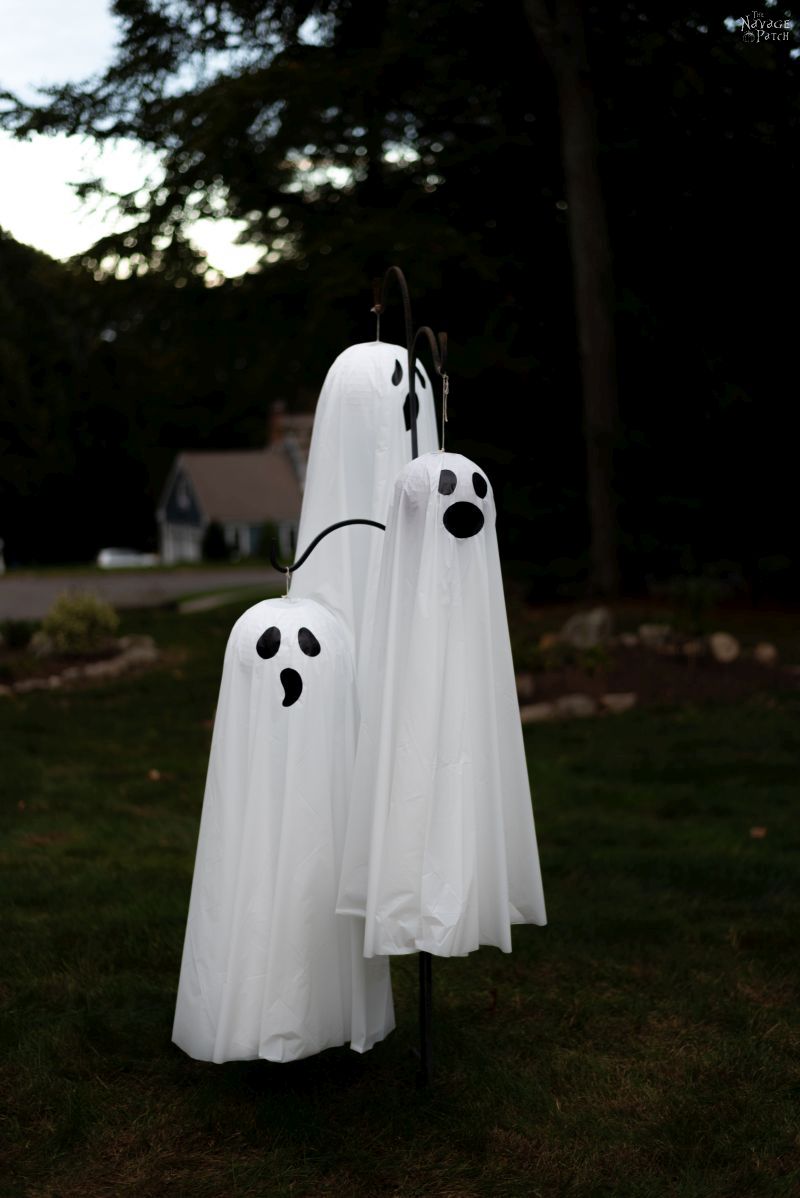
Hanging ghosts are a cheap & easy dollar store Halloween DIY that look awesome without breaking the bank. Add some lights, and they're even better! So my wife has been acting like a ghost lately. Not the Dickens-style apparition with dragging chains and ominous warnings. Neither the Poltergeist type that floats and snarls and startles.

Hanging Ghost Craft How To Make Easy Hanging Ghosts HGTV Halloween
Outdoor Halloween decor doesn't have to be pricey or complicated. Read on to learn how to create haunting ghosts that glow once night falls. Click through to.
Halloween Ghost Decorations How to Make a Ghost HGTV
Cut a small hole at the top of the head for the hook to go through. And cut around your sewn line. Turn the fabric so that the raw seam is on the inside and slip it over your hanger. Cut the bottom of your fabric into a ghostly shape. Now the fun part, make the faces.

fundiyhalloweenghostinthetrees
Step 1: Make Ghost Head The head of the ghost is made of plastic grocery bags that we had on hand. We put a bunch of bags into one until it was about the size we wanted. Then we taped over the whole thing with duct tape. This holds them together and also waterproofs it pretty well.

Hauntingly Beautiful Halloween Ghost Garland You Can Easily Make
DIY Dollar Tree Ghost Craft. Yield: 1 sign. Prep Time: 10 minutes. Active Time: 10 minutes. Total Time: 20 minutes. Difficulty: Easy. You only need a handful of dollar store supplies and $7 to make this fun Dollar Tree ghost craft sign for your home this Halloween! Print Materials.
301 Moved Permanently
Are you ready for a SUPER EASY TUTORIAL? How To Make A Ghost Garland Here are the steps I took to make a diy ghost garland decoration with items from my local Dollar Tree. If you can't find these items, I have listed alternatives in the supply list above. Step 1-Remove The Chain From The Lawn Post
Easy Lighted Hanging Ghosts (A Dollar Store DIY) The Navage Patch
Ring around the rosy ghosts - Tip Junkie Crafts & DIY I got the idea to make my own ring around the rosy ghosts when I saw some in a yard in a nearby town. I thought they were the cutest things! I am very frugal so…
The Pink Pixie Forest Lawn Ghost RePost
Step 1 Roll and shape the foam clay into a log then cut it into 3 parts equally and cut off a small piece from each part. Roll a large piece of clay into a ball, then slowly shape one end into a smaller and pointed shape, and curve the tail as shown in the video.

Ghost circle tree and play ring around the rosy. Used metal fence
Cut out the tree outline and glue it to the purple piece of paper using the glue stick. Crumple the cupcake liners to look like ghosts. Once you are happy with your ghost shape, open the ghosts up and apply a layer of glue to the inside so the ghosts won't be as billowy. Use a permanent marker to draw eyes and a mouth on each ghost.
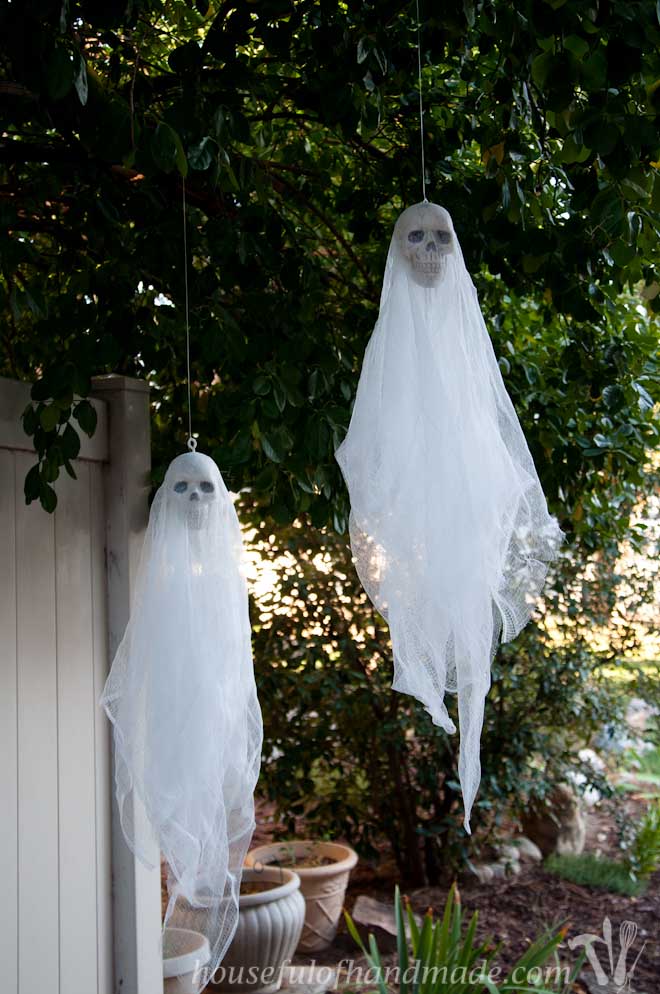
Easy 3 Spooky Skull Ghosts DIY Houseful of Handmade
Fill your trees or. With a knife screwdriver or another tool punch a hole in the top of the tin can. Hanging Packing Tape Ghosts. After you have your material cut you place it over the styrofoam ball. Let this dry completely.

Dollar Tree DIY GHOSTS! Cheap Fall Activities for Kids Collab YouTube
Step 3: Assembling your ghost. Then lay your next strip of gauze over the top of the ball going in the opposite direction that you layed the first strip. Essentially creating an X with the gauze strips. TIP: I notice the gauze kind of curled up on the ends, so I decided to layer this strip in a way where the ends curled under, rather than out.