
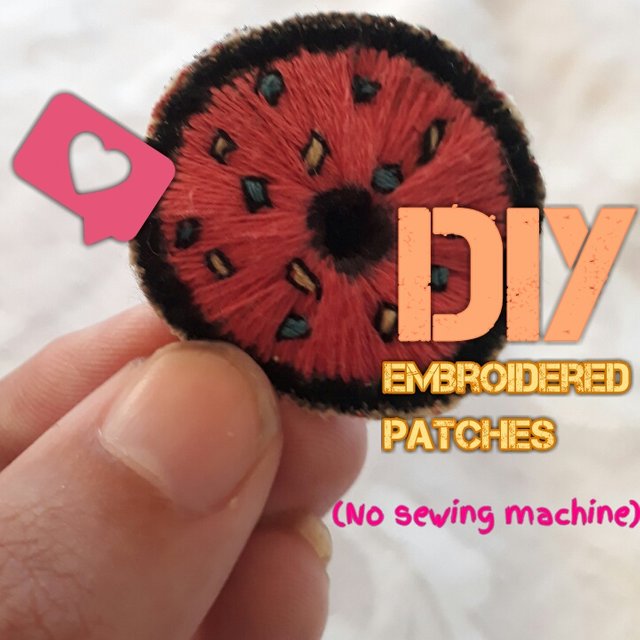
How To Make Embroidered Patches Without Machine (6Step DIY Guide) September.2022
Trace the individual parts of the pattern onto the paper backing of the heat and bond fusing. Cut the individual parts. Place your fabric with the wrong side up and put the pattern piece paper side up. The adhesive fusible side of the paper that has the glue needs to be in contact with the wrong side of the fabric.

How to make Embroidery Patches DIY Patches EASY HAND EMBROIDERY Pt. 1 YouTube
Remove the protective paper carefully. Cut the patch. Use a ruler to make sure it is cut evenly, I found this harder than I had anticipated. Stitch the edges. Use topstitching thread or two spools of thread and set your sewing machine on a zigzag stitch with a very short stitch length. Experiment before you start sewing on the actual patch.

How to Create an Embroidered Patch
Proper movement of the stitch. Move the stitch in the proper way which you want. Don't try to pull the thread too much. Move stitch in a traverse way within the area. Before the end of the stitch, start another one or try to apply the backstitch of embroidery. Embroidery hope is helpful to hold the fiber.
20 Easy To Make DIY Patches In Custom Designs
How to make a patch with an appliqué design using your embroidery machine. Hoop a piece of water soluble stabilizer (WSS). Stitch out the first round of stitching of your appliqué design. This serves as a placement line to show you where to lay down your appliqué fabric. Lay down your appliqué fabric over the placement stitching.
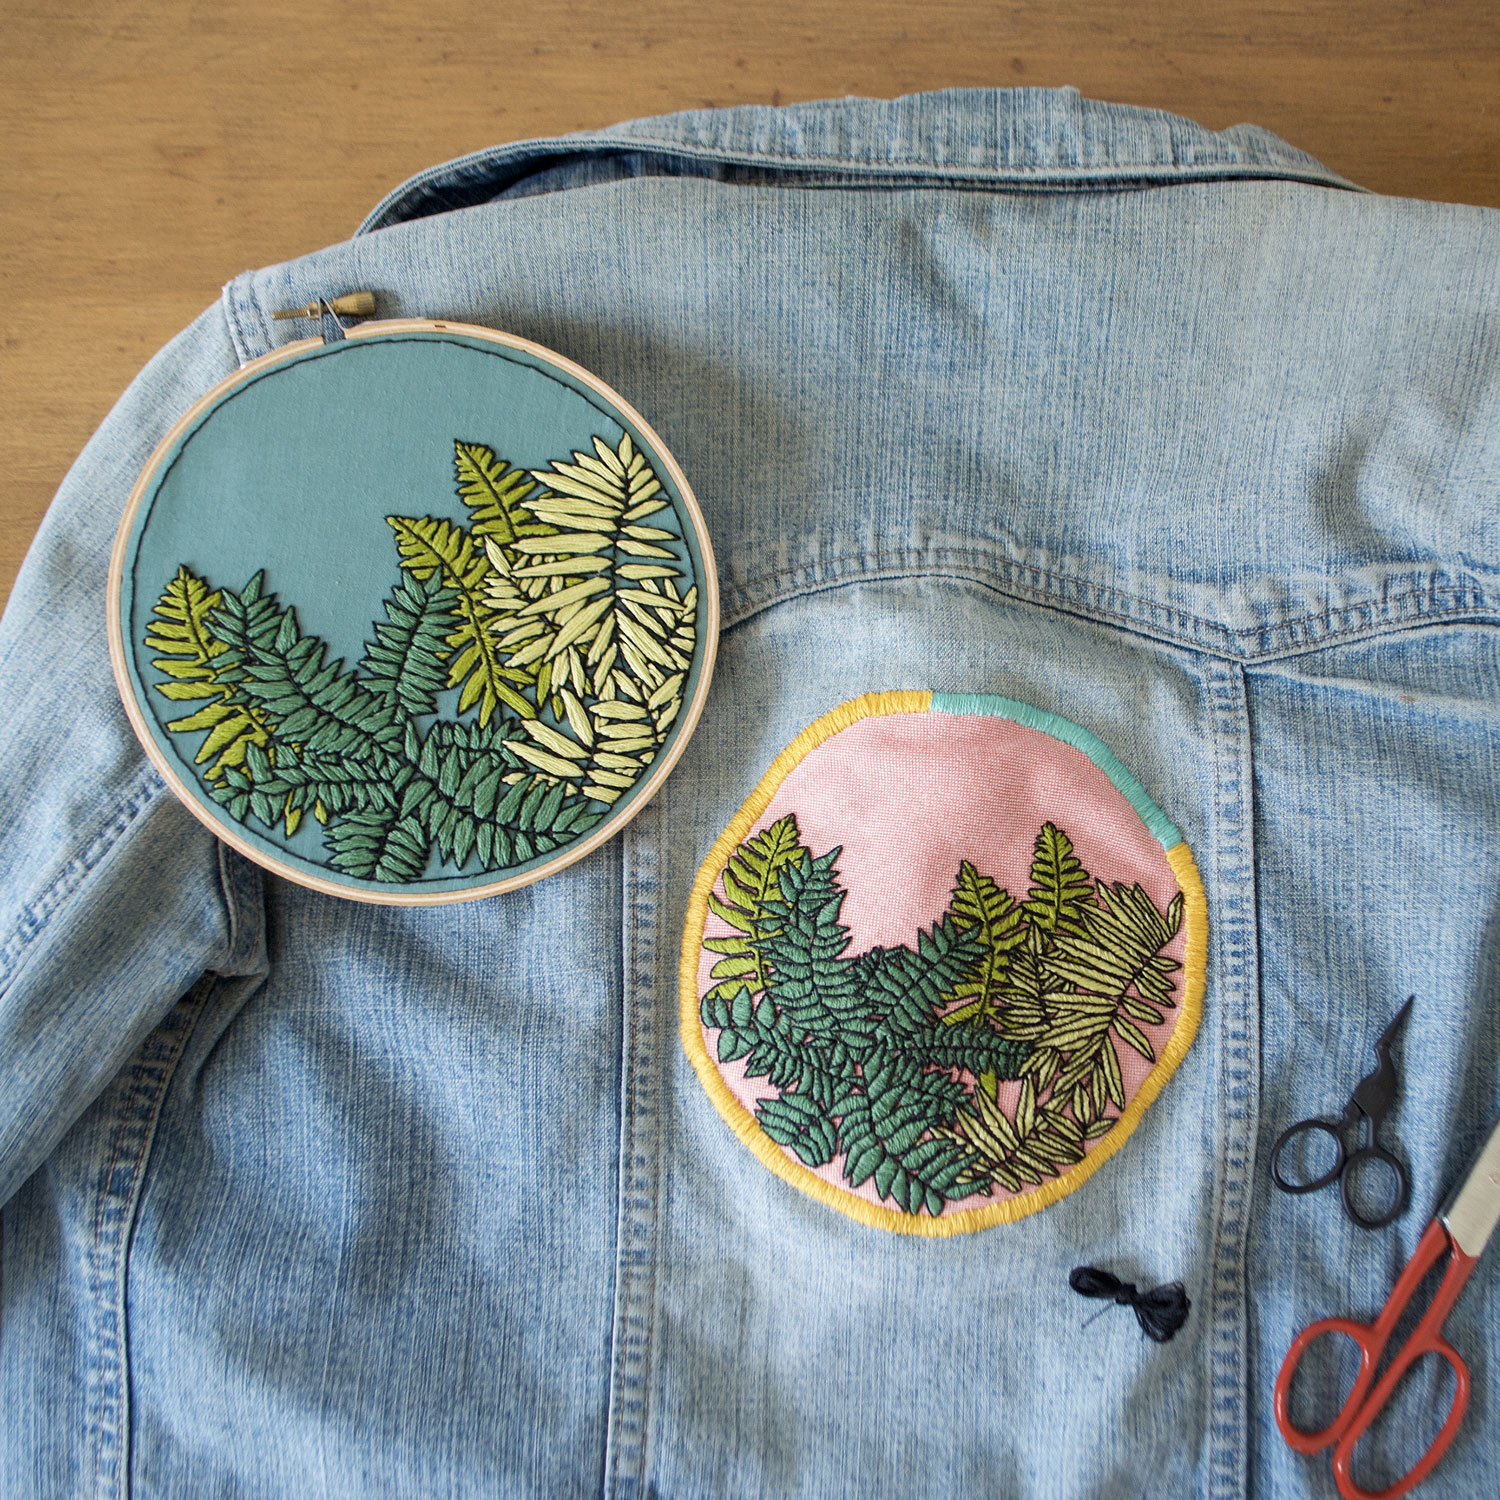
DIY Turn Your Hoop Art Into A Giant Patch Tutorial! — Sarah K. Benning Contemporary Embroidery
Transfer your embroidery pattern onto fabric and stitch the design. In this example, the fabric provides some fill color for the embroidery. Cut around the stitching, leaving 1/8 inch to 1/4 inch depending on how much of the edge you want to show. Cut a piece of felt that matches the shape of the embroidered piece.
How To Make Embroidered Patches Without Machine
If you use an embroidery thread make sure to use an embroidery needle. Once you like your zig-zag satin stitch, sew around your patch. 6- Making it iron on. Take it out of the machine, and carefully remove the tear away stabilizer. It should come off really simply due to the zig zag perforations.
Guide to Making Your First Embroidered Patch (2022)
There is plastic on one side of the heat'N bond and paper on the other. You want to attach the plastic face to the rear of the stick. It is like a half double-sided band that sticks to the back of your embroidery. For now, leave the paper behind. The fabric is made of Heat 'N Bond with a press cloth iron. Let it cool.

[Quick Demo] Embroidery Patches Made in Less Than 6 minutes YouTube
Place the patch material in the hoop, carefully aligning it with the placement stitching to cover the entire placement outline. If the material shifts too easily, you may want to use a light spray of embroidery-specific adhesive to secure it. Stitch a tacking run that holds down the base patch material.

How to make Custom Embroidered Patch and applying Adhesive on the back of the Patch. YouTube
Step 2: Cutting your patch design. How you proceed with this next step will depend on if you have a cutting machine. Using a cutter machine: with our DIY Patches Made Easy design files, we include the SVG file. Simply insert your patch SVG file in your cutter and place your fabric with a stabilizer onto your matt.

How to Create an Embroidered Patch
How to make embroidered patches or badges. Video tutorial how to use your embroidery machine. Turn you applique or fill stitch embroidery design into a cool.

How to embroider patches YouTube
Step-By-Step Guide on How to Make a Custom Patch Hat. Step 1: Measure the Size of the Sublimation Patch and the Beanie's Printable Area. Step 2: Upload Your Design or Logo. Step 3: Resize the Design. Step 4: Change the Design's Shape. Step 5: Print the Design on Your Printer. Step 6: Heat Press the Sublimation Patch.

How To Make Embroidered Patches Without Machine (6Step DIY Guide) December.2023
In this beginner-friendly tutorial, learn how to make your own embroidered patches using a Brother embroidery machine. I'll walk you through the process of e.
Creating Embroidered Patch in Easy 7 Steps
1. Sew On. Use your favorite needle and thread or sewing machine to sew on the patch. Another option is to program your embroidery machine to stitch on the patch using an outline stitch. You can still add a sealing layer to the back of the patch, or you can sew it on without anything. 2.
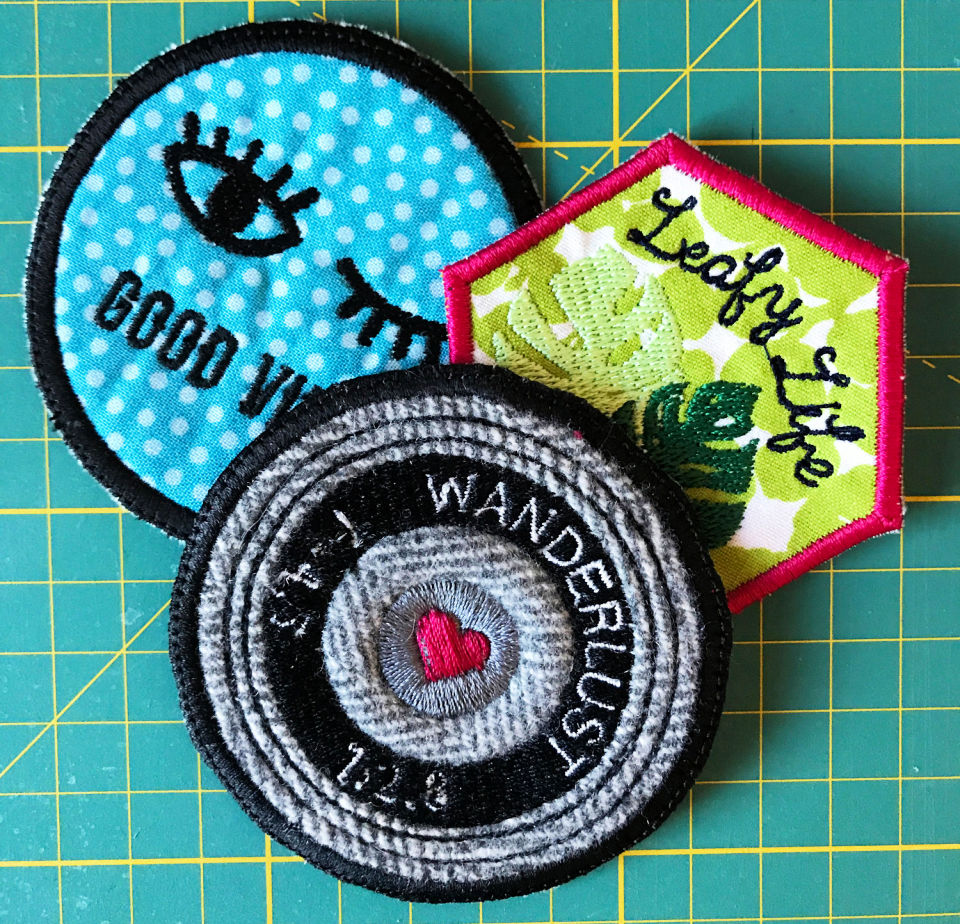
15 Great Ways to Make Homemade Patches OBSiGeN
Make sure you sew a line of zigzag stitches close to the border of the patch, all of the way around. This gives the badge a defined shape and also prevents any fraying later on. Finally, use sharp sewing scissors to carefully cut the patch as close to the outside of your border stitches as possible. 3. Hand Embroidery.
/EmbroideredPatches1-5928cfb15f9b585950d48e8a.jpg)
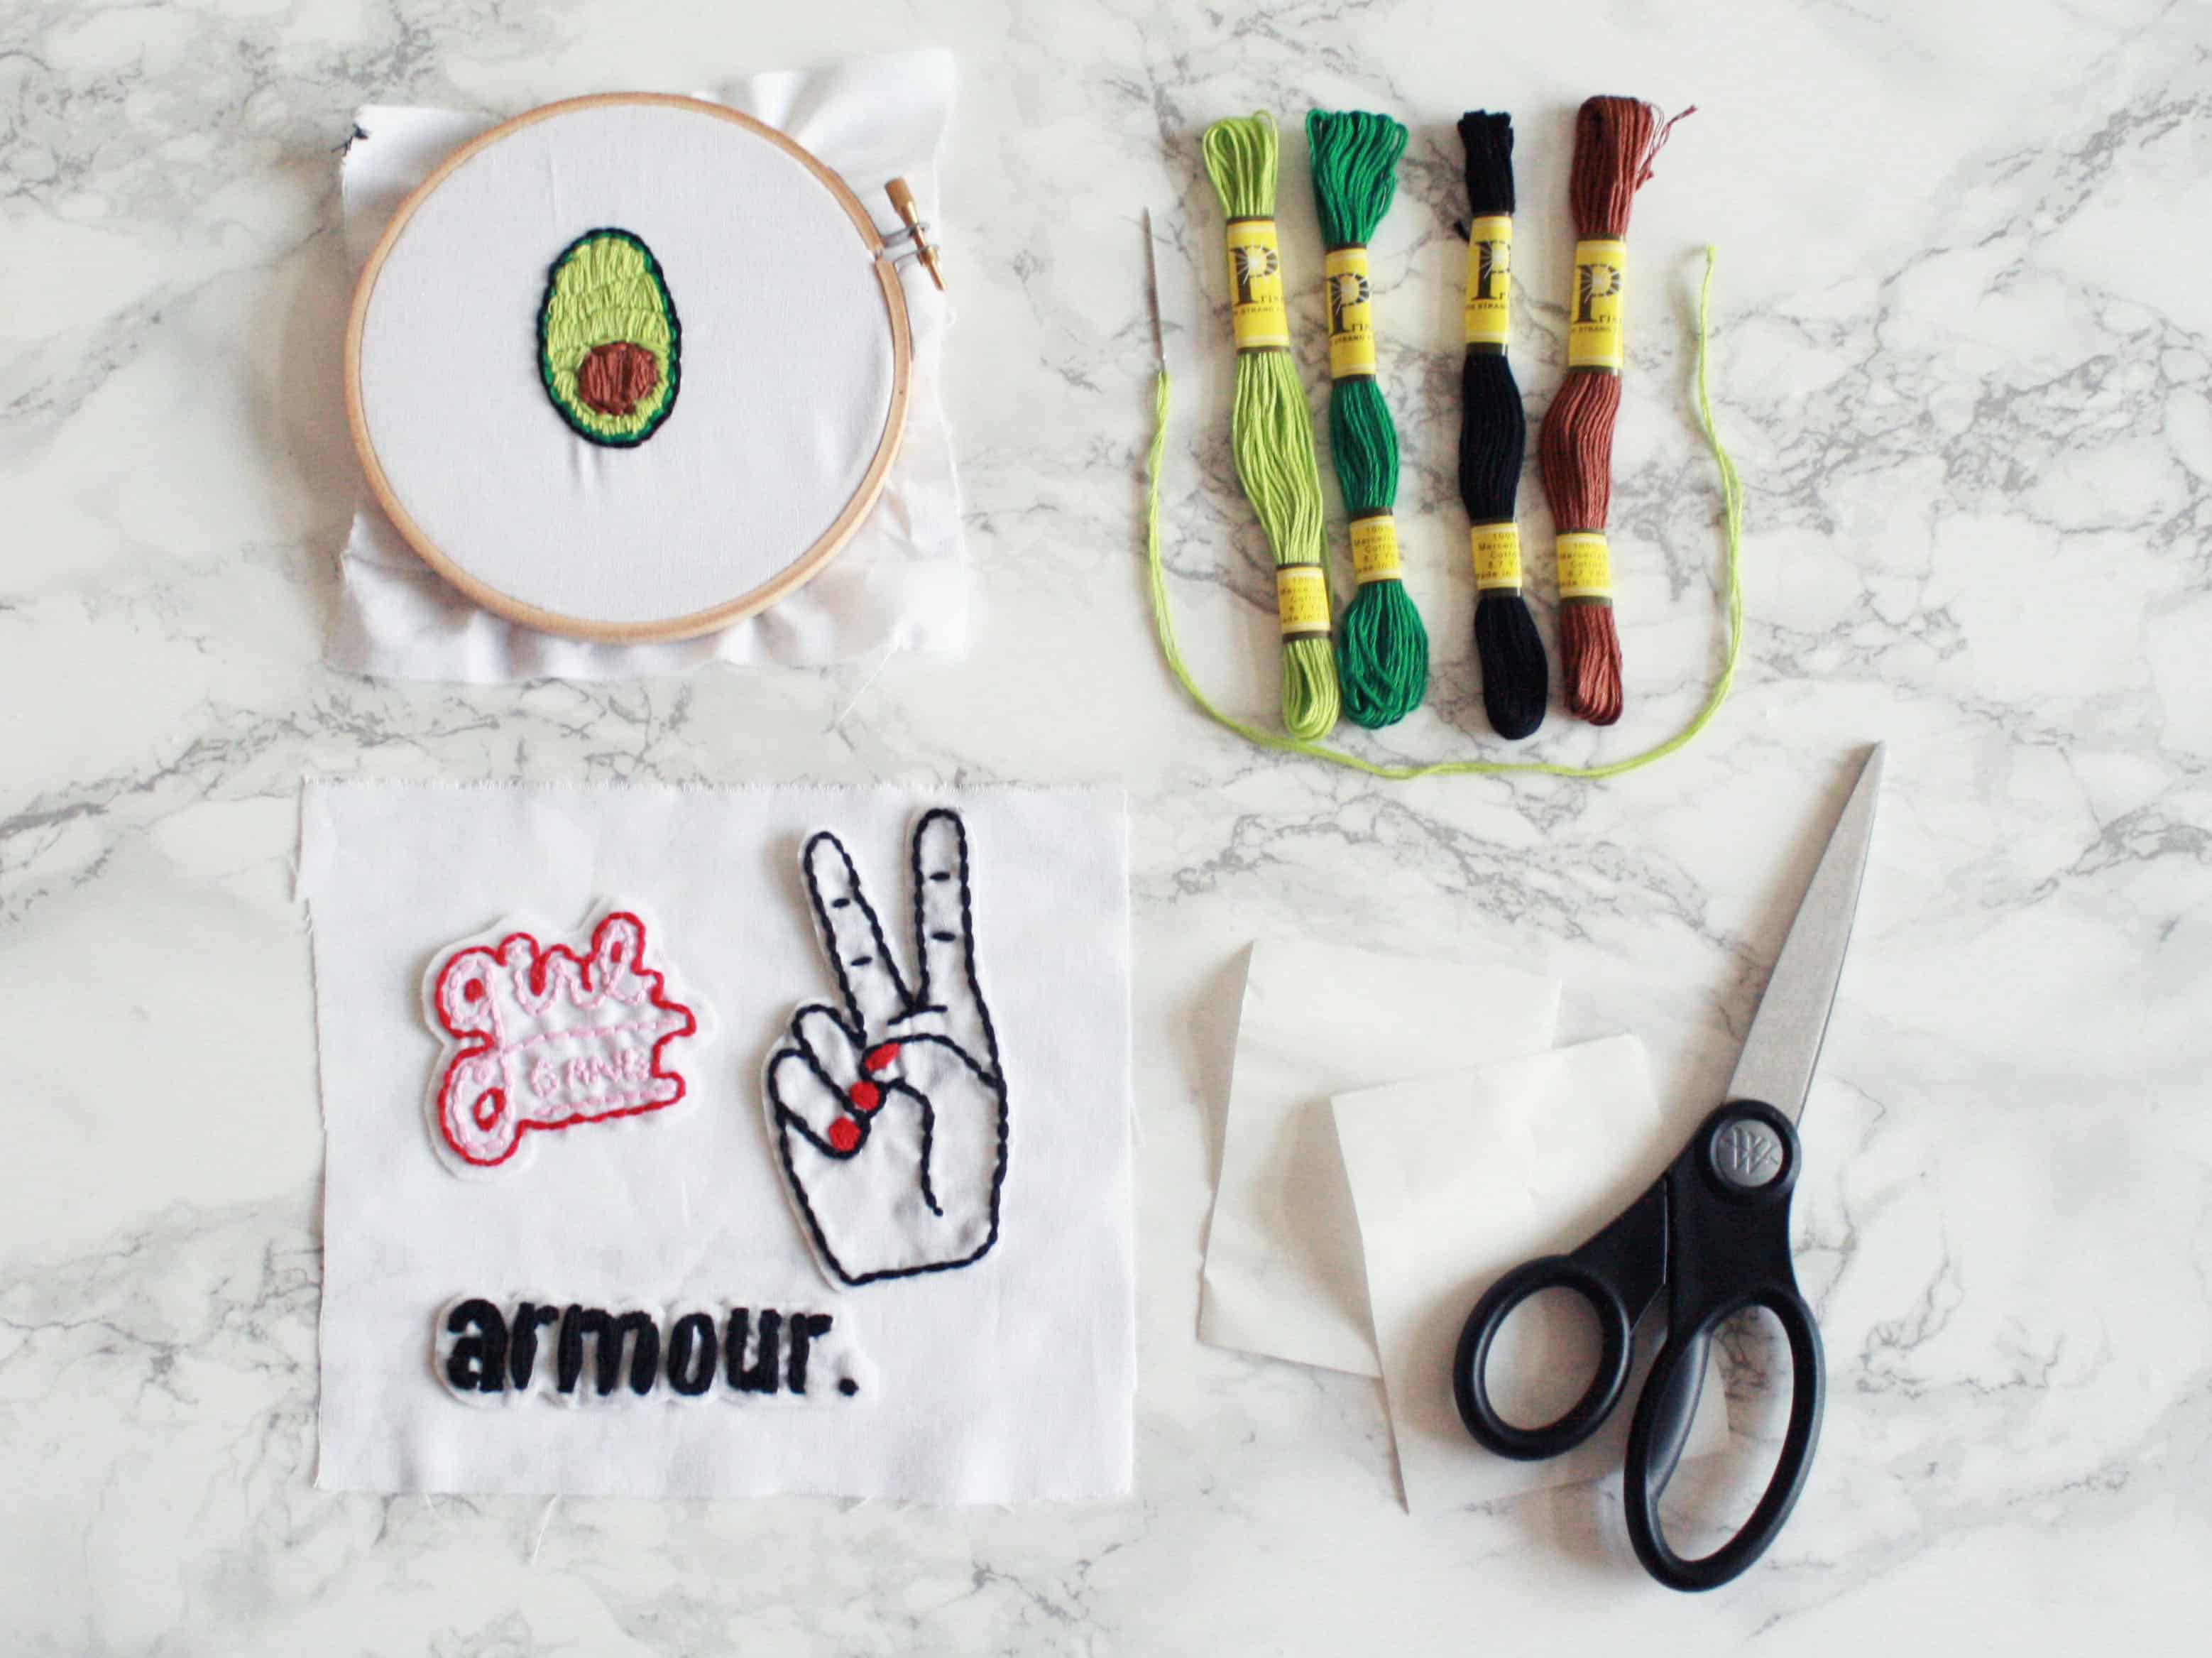
4 Ways to Make Your Own Hand Embroidered Felt Patches
Hold your knife at an angle and not straight up. Use only the tip of the blade. Cut at an even pressure and move slowly. Clean your hot knife, every couple inch with a paper towel. Practice makes perfect when cutting out patches, so make sure you have some time to practice before making patches for your customers.

How to Create an Embroidered Patch
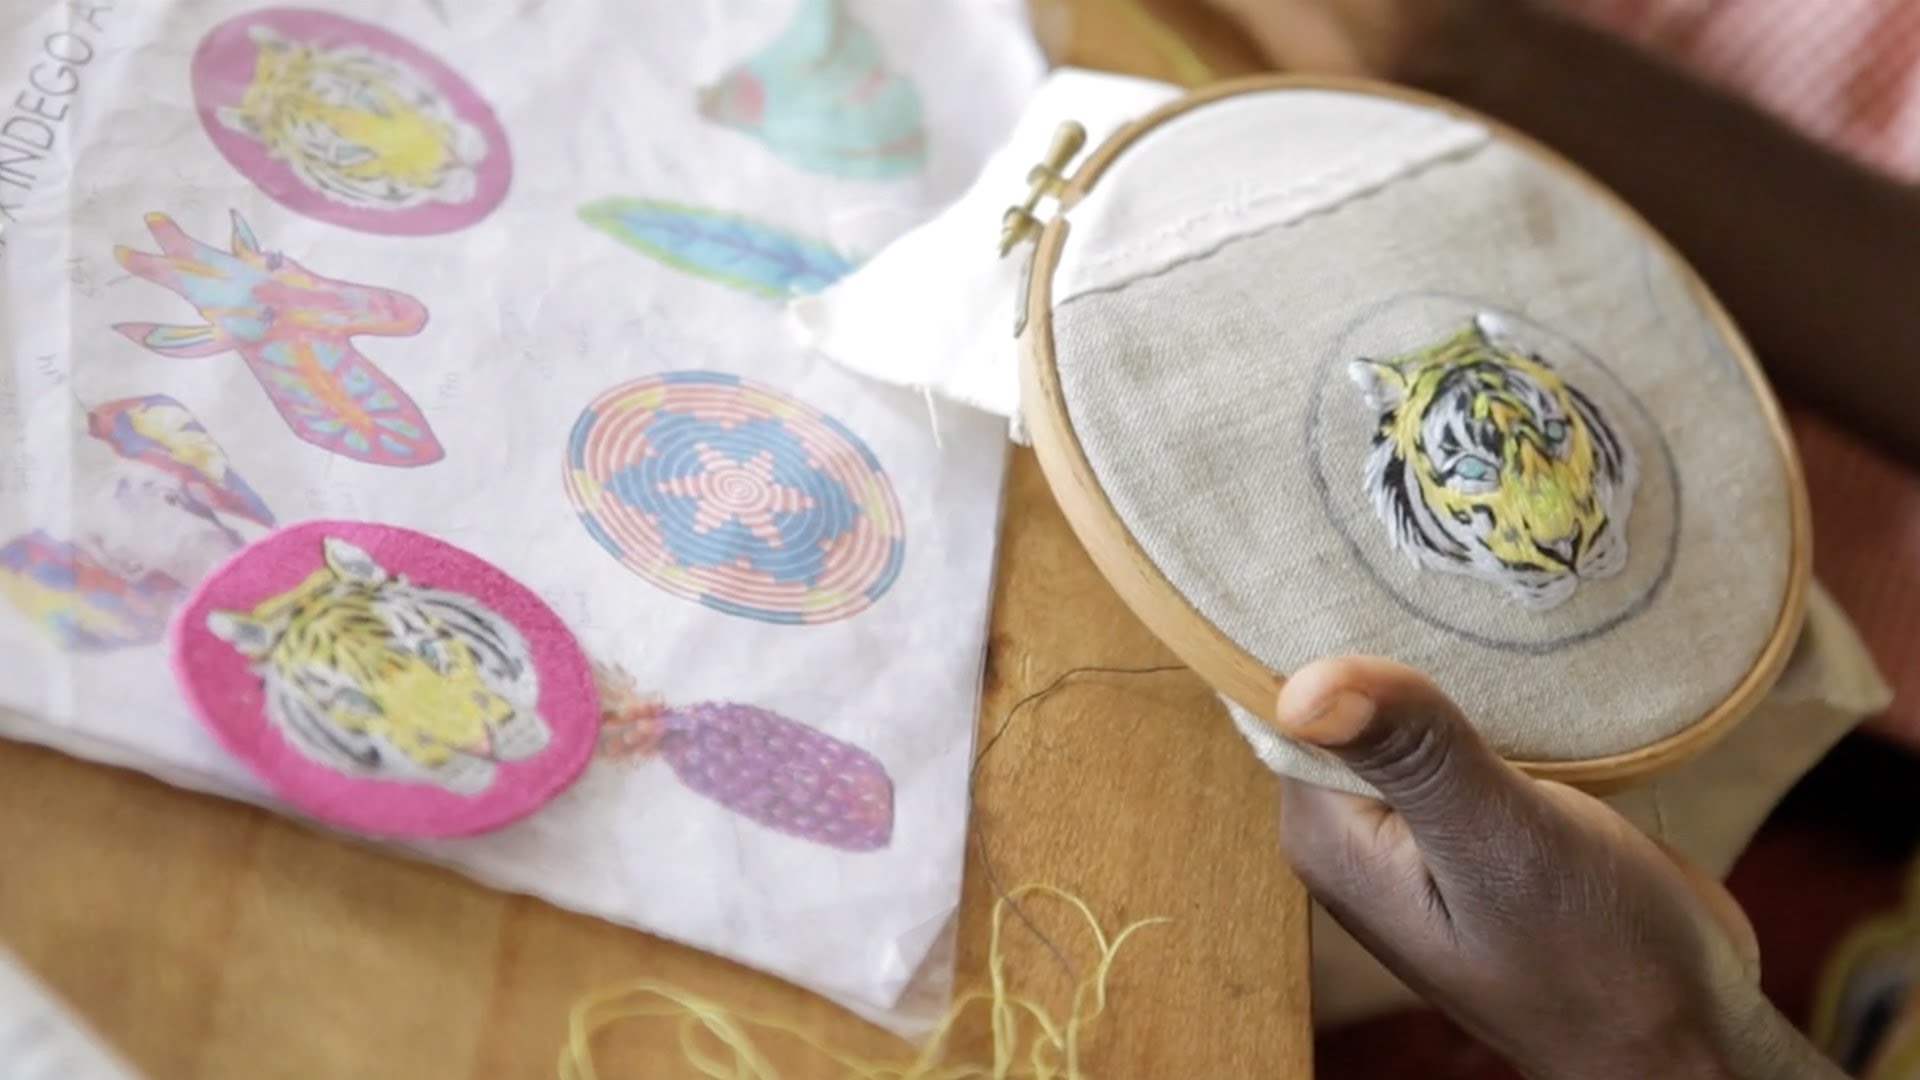
You can make a cushion or embroider a pillow on white fabric to match pillows or other clothing in the house. As a result, your home looks more attractive. Making patches by hand is still possible if you don't own an embroidery machine. However, hand-embroidered patches take a little longer to make, but they can add a personal touch to the badge.