Optimizing Your Revit File IrisVR
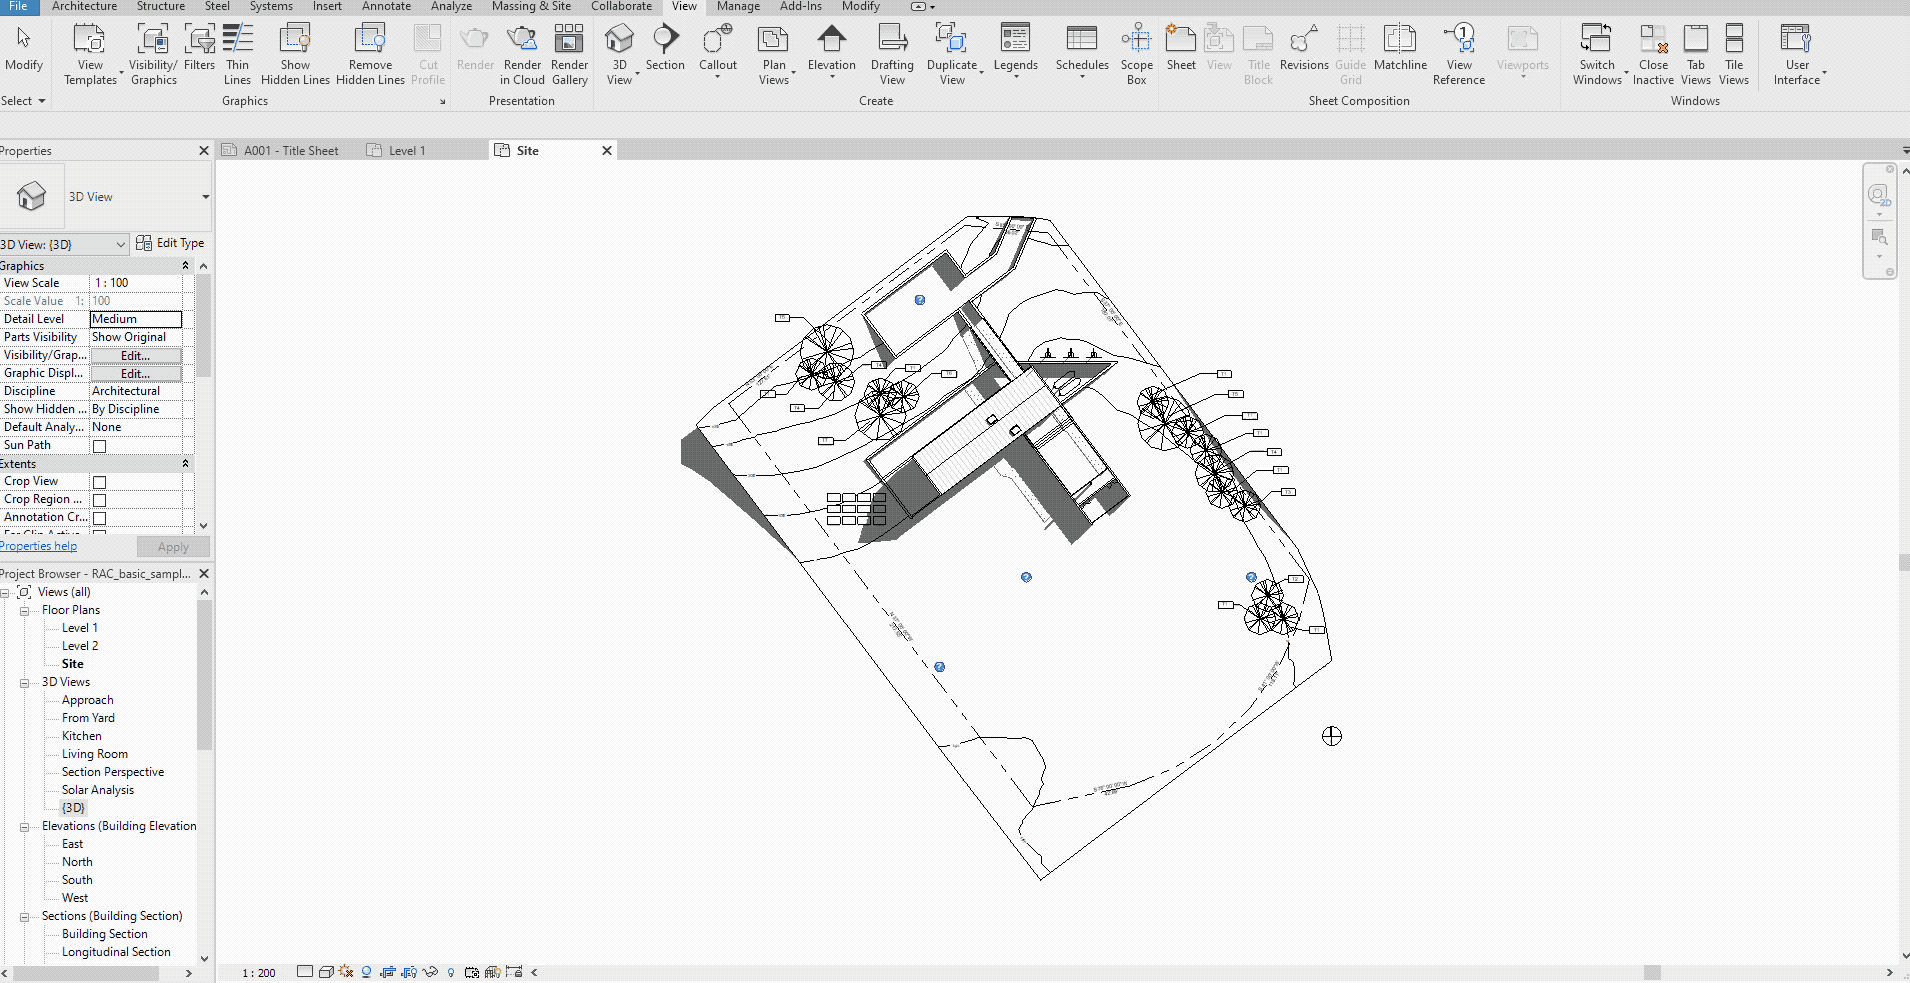
The camera is selected in all views where the camera is visible, such as plan, elevation, and other 3D views. In the Project Browser, double-click the view in which you want to modify the camera position (for example plan or elevation). Drag the camera to move it. The view updates according to the new camera position. Drag the target to move it.

Revit Architecture, Image Rendering, Part 4, Sun Path, Camera View
We can move the camera position by using [shift] + mid button. But that's not easy. An easier way is dragging the camera position and target. We can open 3 views (plan, elevation, and the 3D perspective) and work on those views. Click tile in Views tab, Windows panel. Now find your 3D perspective view in your project browser.

Revit Rendering And Visualization Modifying The Camera View YouTube
Use the following steps: Use the Camera tool to create a perspective view of your model. Click the "Full Navigation Wheel" on the right of your screen. With the navigation wheel open, right click the wheel. Left-Click where it says "Increase/Decrease Focal Length".

Introduction To VRay Next For Revit Toolfarm lupon.gov.ph
How to Add a Camera View in Revit ArchitectureThis video was intended for educational use at Lakeville South High School. This video demonstrates how Revit c.

How to Add a Camera View in Revit Architecture YouTube
Create perspective views in Revit by adding a camera to the model. When you first create the view, it may not be exactly what you need to present the model. Adjust the camera after it is placed to create the perspective view you want to present. There are a few ways to adjust a perspective view once it is created.

Generating Perspective Views with the 3D Camera in Revit YouTube
in the Controls drop-down list on the Options Bar, select Active Camera. Drag the camera along the path to the frame or key frame to adjust. The camera snaps to key frames. You can also type the frame number in the Frame text box on the Options Bar. While the camera is active and located at a key frame, you can drag the control for the target.

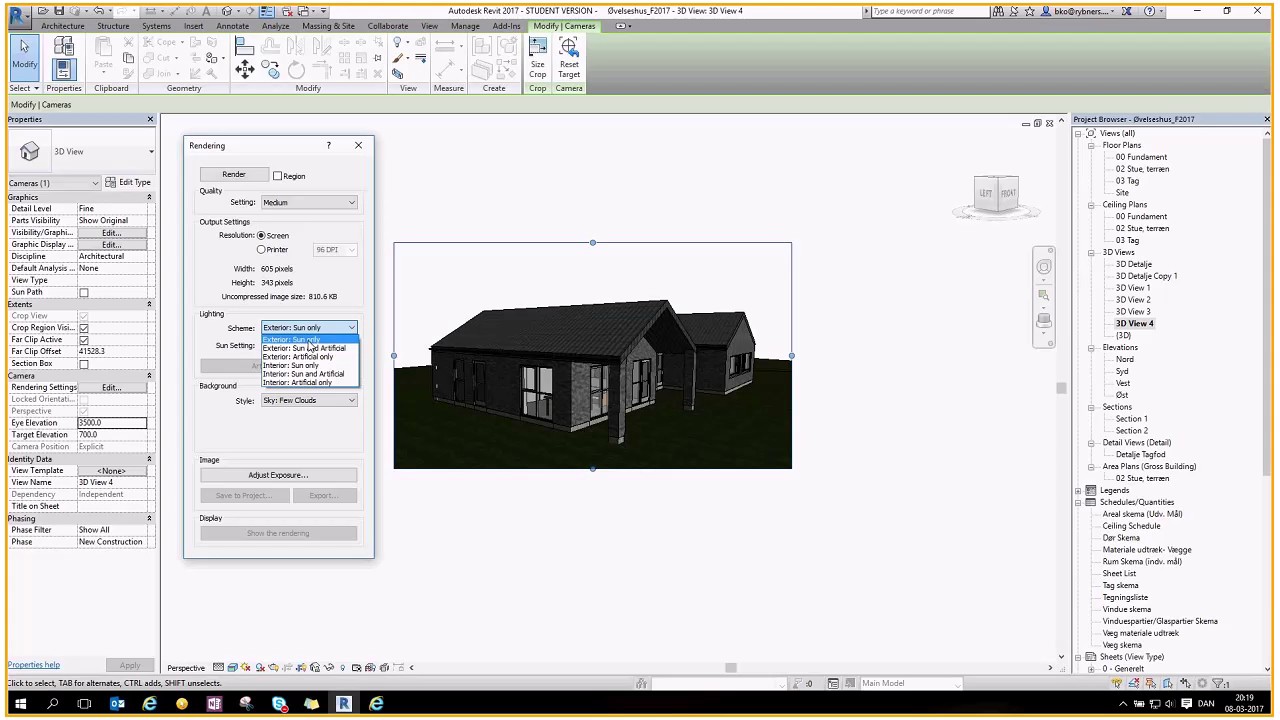
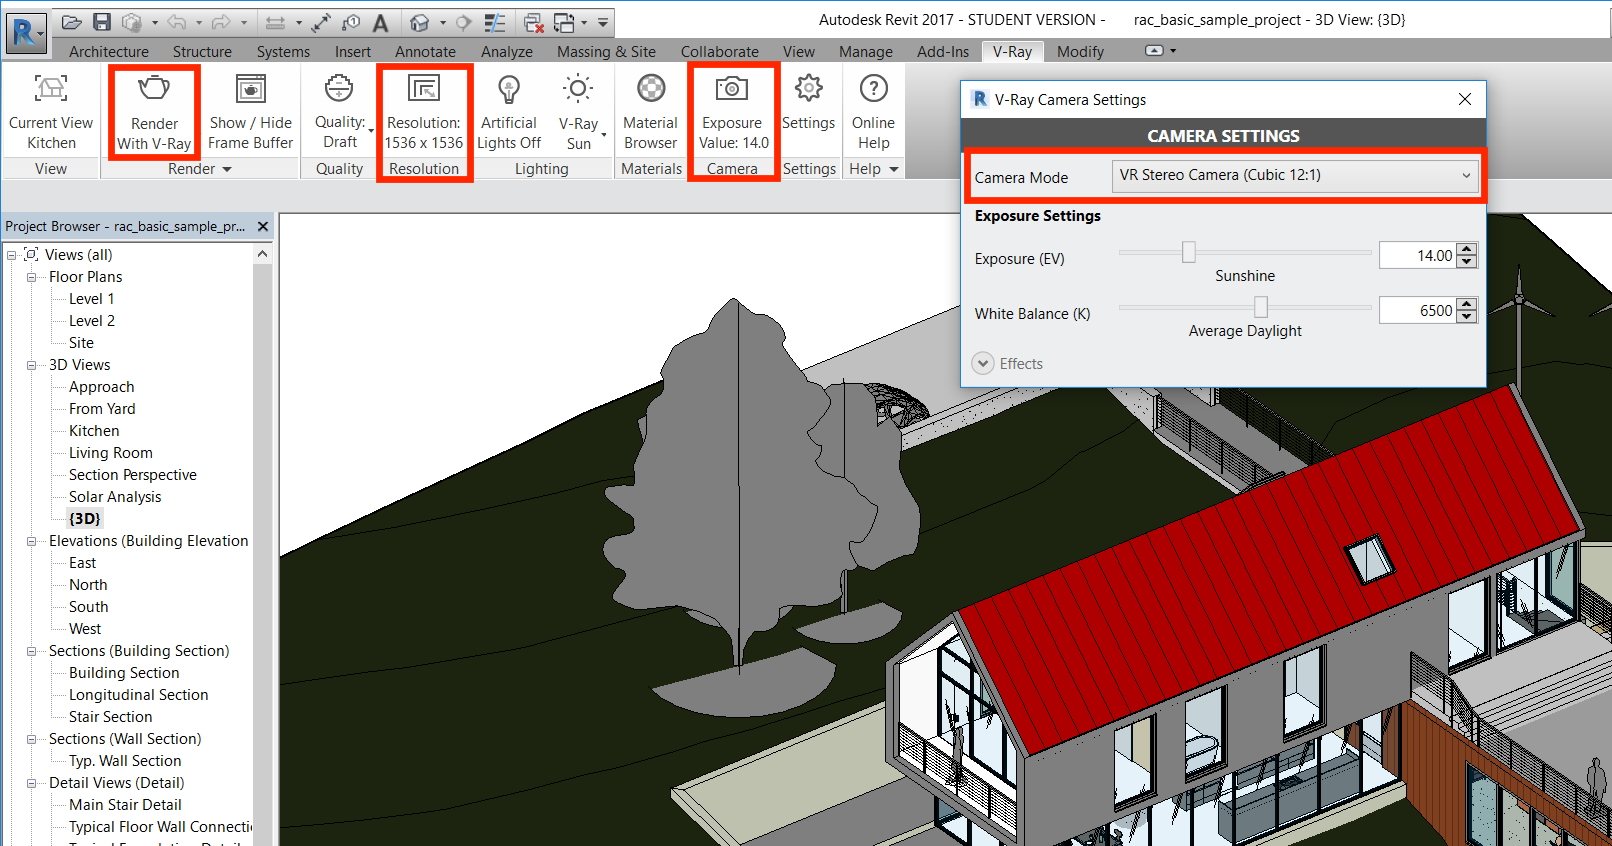
Camera Settings Autodesk Revit Perspective Views ZenTek Consultants
Use the following steps to change the camera position in Revit: Open the plan view on which the camera position will be set. Set the visibility range to unlimited down and up in the view properties "Range". Find the corresponding 3D view in the project browser. Click "show camera" under the right mouse button.

Revit Camera View/Walkthrough/Rendering YouTube
Use the following steps to change the camera position in Revit: Open the plan view on which the camera position will be set. Set the visibility range to unlimited down and up in the view properties "Range". Find the corresponding 3D view in the project browser. Click "show camera" under the right mouse button.
Revit Camera View YouTube
However, by right clicking on the steering wheel you can select "Increase /Decrease focal length" and then by selecting a point on screen dragging the cursor up or down you can alter the field of view without changing the camera's position and not unduly affect your degree of perceptiveness. See Fig 1 Fig 1 Facebook Twitter

Solved Revit Camera View export to autocad deformed Autodesk Community
SETTING-UP CAMAERA VIEW IN REVIT | TUTORIALS | ARCHITECT'S DEN 731 subscribers Subscribe 0 Share No views 2 minutes ago In this Video, Chisom covers the entire tools in Autodesk Revit for.

Revit 2014 Creating a Camera view YouTube
Open the 3D view. In the Project Browser, right-click the 3D view name, and select Show Camera. The camera is selected in all views where the camera is visible, such as plan, elevation, and other 3D views. Selected camera in plan view Selected camera in 3D view Selected camera in elevation view

Linked revit filw not appearing in new camera view Autodesk Community
Get all Revit Courses: https://balkanarchitect.com/My Revit project files: https://www.patreon.com/balkanarchitectGet my Personal Revit Template + Family Pac.

Revit Camera Views YouTube
In the Project Browser, right-click the Revit Perspective view and in the pop-up menu, click Show Camera. Or, with both the Plan view and the Perspective view open, click the FOV frame in the Perspective view, and the Camera will appear in the Plan view. The Camera, Target point, and Field of View may be adjusted horizontally in the Plan view.
Revit Camera Tool YouTube
When revising a walkthrough, edit the camera positions and adjust the camera field of view for each key frame. Open the walkthrough and set up views. The walkthrough can be viewed by right clicking the walkthrough name in the Project Browser and selecting Show Camera. To edit camera positions and views, refer to the following table. If you want to.
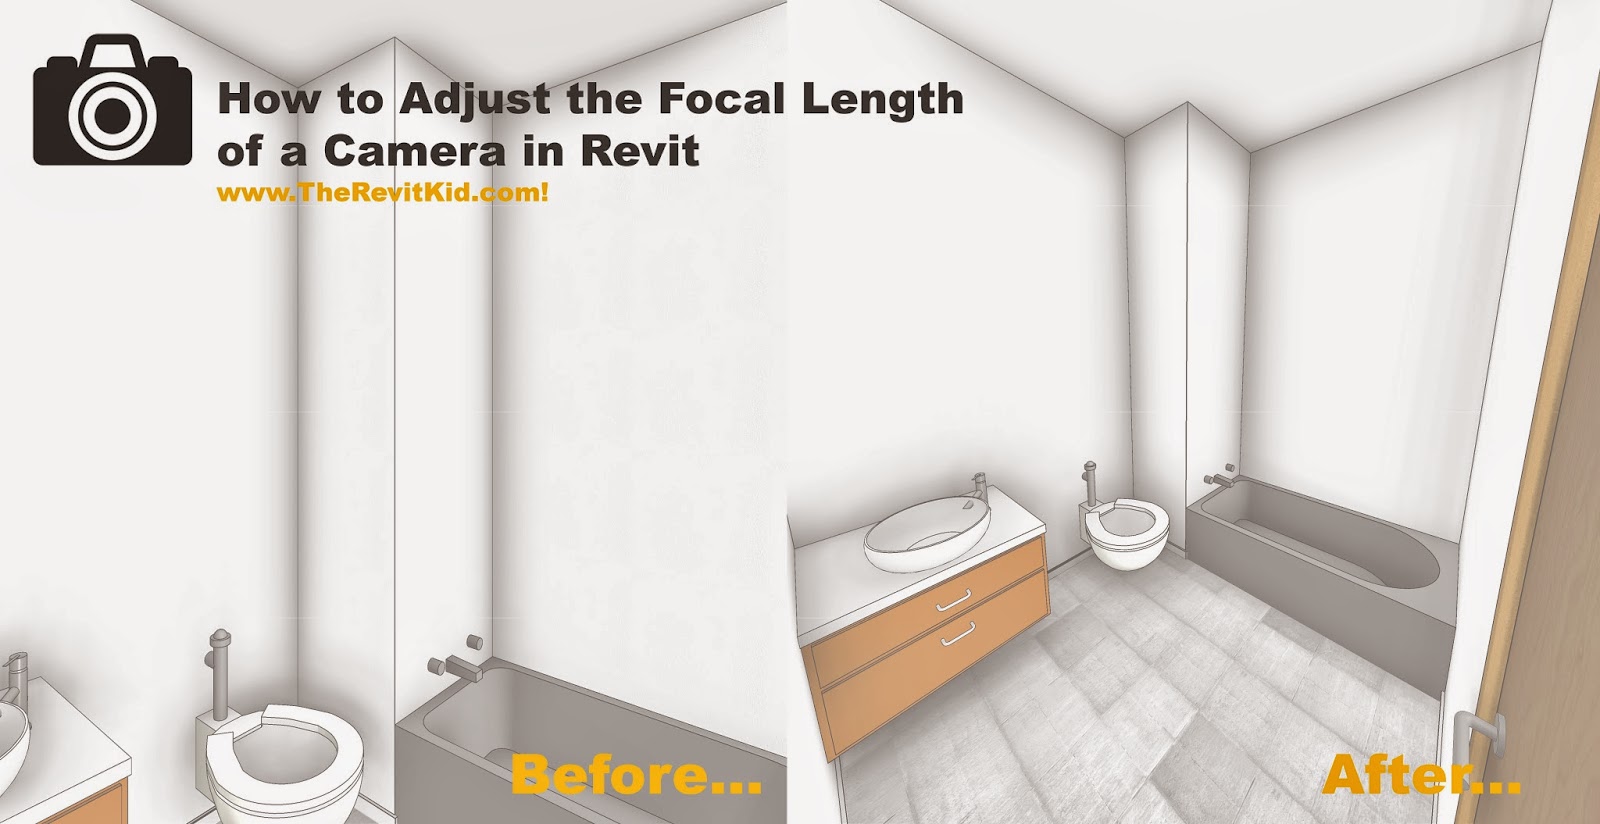
Revit Tip Increase / Decrease Focal Length of Camera TheRevitKid
Amazingly, how do you change degrees in Revit? Open the 3D view. In the Project Browser, right-click the 3D view name, and select Show Camera. In the Project Browser, double-click the view in which you want to modify the camera position (for example, the plan view or the elevation view). Drag the camera to move it.
VRay Panoramas in Revit IrisVR
Open a 3D view. Right-click the ViewCube, and click Orient to View or Orient to a Direction. Orient to View allows you to select another view. The camera moves to the same location as in the view you specify, and a section box is placed around the model that emulates the extents of the selected view. Note: To turn off the section box, in the.